
My sewing room and office space is slowly evolving. I am trying not to rush it. Which, for me, is sometimes difficult especially when I am wanting to work on a project and the stuff I need to do it is all over the place. ugh, I can’t stand that! I want it organized and easily accessible.
As I said, I am not rushing into designing this space. I am letting it evolve. I want to make sure that I think through all the ways I will be using the space and then coming up with the best possible storage solutions to neatly accommodate all my craft and sewing supplies. I also want it to be a cozy space since it’s what you immediately see when you go upstairs. And, at the same time, I don’t want to spend a lot of money making it happen.
Creating a space this way, rather than purchasing new or ready-made items, takes a bit of creativity and sometimes ingenuity. When a clear idea comes to me then I proceed without stopping (much to CountryBoy’s chagrin, sometimes (wink)).
Just such an idea came to me last night so, of course, I had to tackle it today!
I was needing something to put some of my photography and clipart books on and on something, preferably, near the computer.
When we moved into the farmhouse, there were two shelves mounted on the wall above my computer desk. We had taken them down to paint the walls and, well, because they needed some TLC. They were put in the barn.

I decided that one of those shelves would be the solution since they were custom made for that wall and made well. And, because it wouldn’t cost me anything but a little bit of my time. But, I didn’t want it up there in its current state.
The white paint was yellowed from smoke and there was glue or caulk badly smeared in several places.
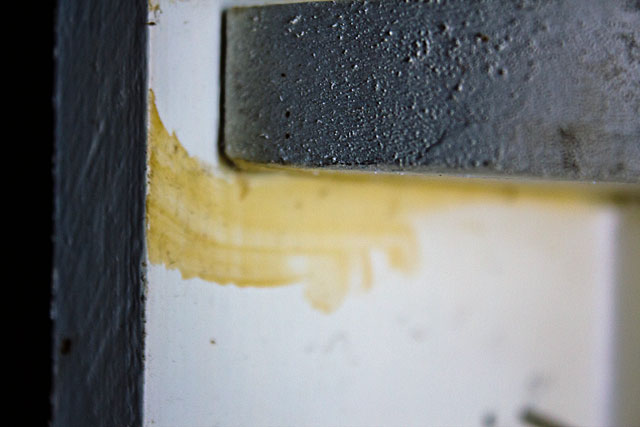
I decided to give it a more shabby-chic look so out came my orbital sander. Before long the yellow was gone as well as most of the glue.

Much better!
Now to make it blend in a little better with my espresso stained desks so, out came my espresso stain….

I covered the white paint and all, allowed it to dry a few minutes then wiped it off.
I let all of it dry for another fifteen minutes or so then put a coat of dark wax on it.

Yes! That’s exactly the look I was trying to achieve. Yay!
Now to see what it looks like on the wall…

Oh yea! Works for me.

As I was rubbing the wax on it I kept thinking that it now looked like a shelf I might find at Hobby Lobby but without the price!
As I mentioned earlier, this space is slowly evolving.
Here it is in its current state…
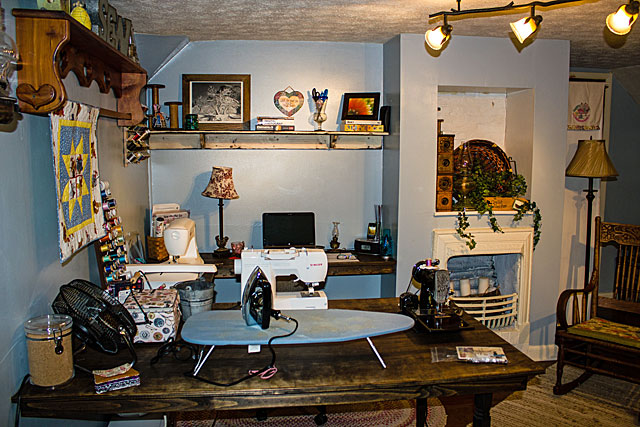
Still needed are storage solutions (which will go on the wall behind the rocker) and utilizing more wall space. I’m thinking about using a piece of pegboard that was left behind by the previous owner, cleaning and dressing it up and using that as well to hang embroidery hoops, scissors and maybe some thread. Still pondering that idea so I will wait until I have a clear picture in mind.
But, for now, I am happy that it is coming together and that I am able to use it in the meantime.
Bit by bit!

This looks SO cozy …… I LOVE it!!
LikeLike
Thank you! It’s slowly coming along.
LikeLike